Testimonials

Pete A.
"Kieran is an amazing teacher and mentor. Everything he explains builds onto the next with thorough and solid understanding.
He has truly helped me see and understand things that and I had no idea I was missing in my own work. If you ever have an opportunity to work with Kieran it will probably be one of the best decisions in your artistic journey, no doubt about it."

Fiona S.
"My painting improved so much when doing painting and drawing at Scumble and Glaze ! Kieran is a fantastic teacher - he gives clear instructions making the online classes brilliant!"
Gain access to over 70 hours of easy to follow instructional content for just £9 per month!
- Access a full programme of courses designed to help you learn how to draw and paint realistically.
- Subscription works on a monthly rolling basis, so you can stop and start whenever you like.
- You will also be able to comment on videos with any questions that you have about the process or materials, and I will be able to help you directly.
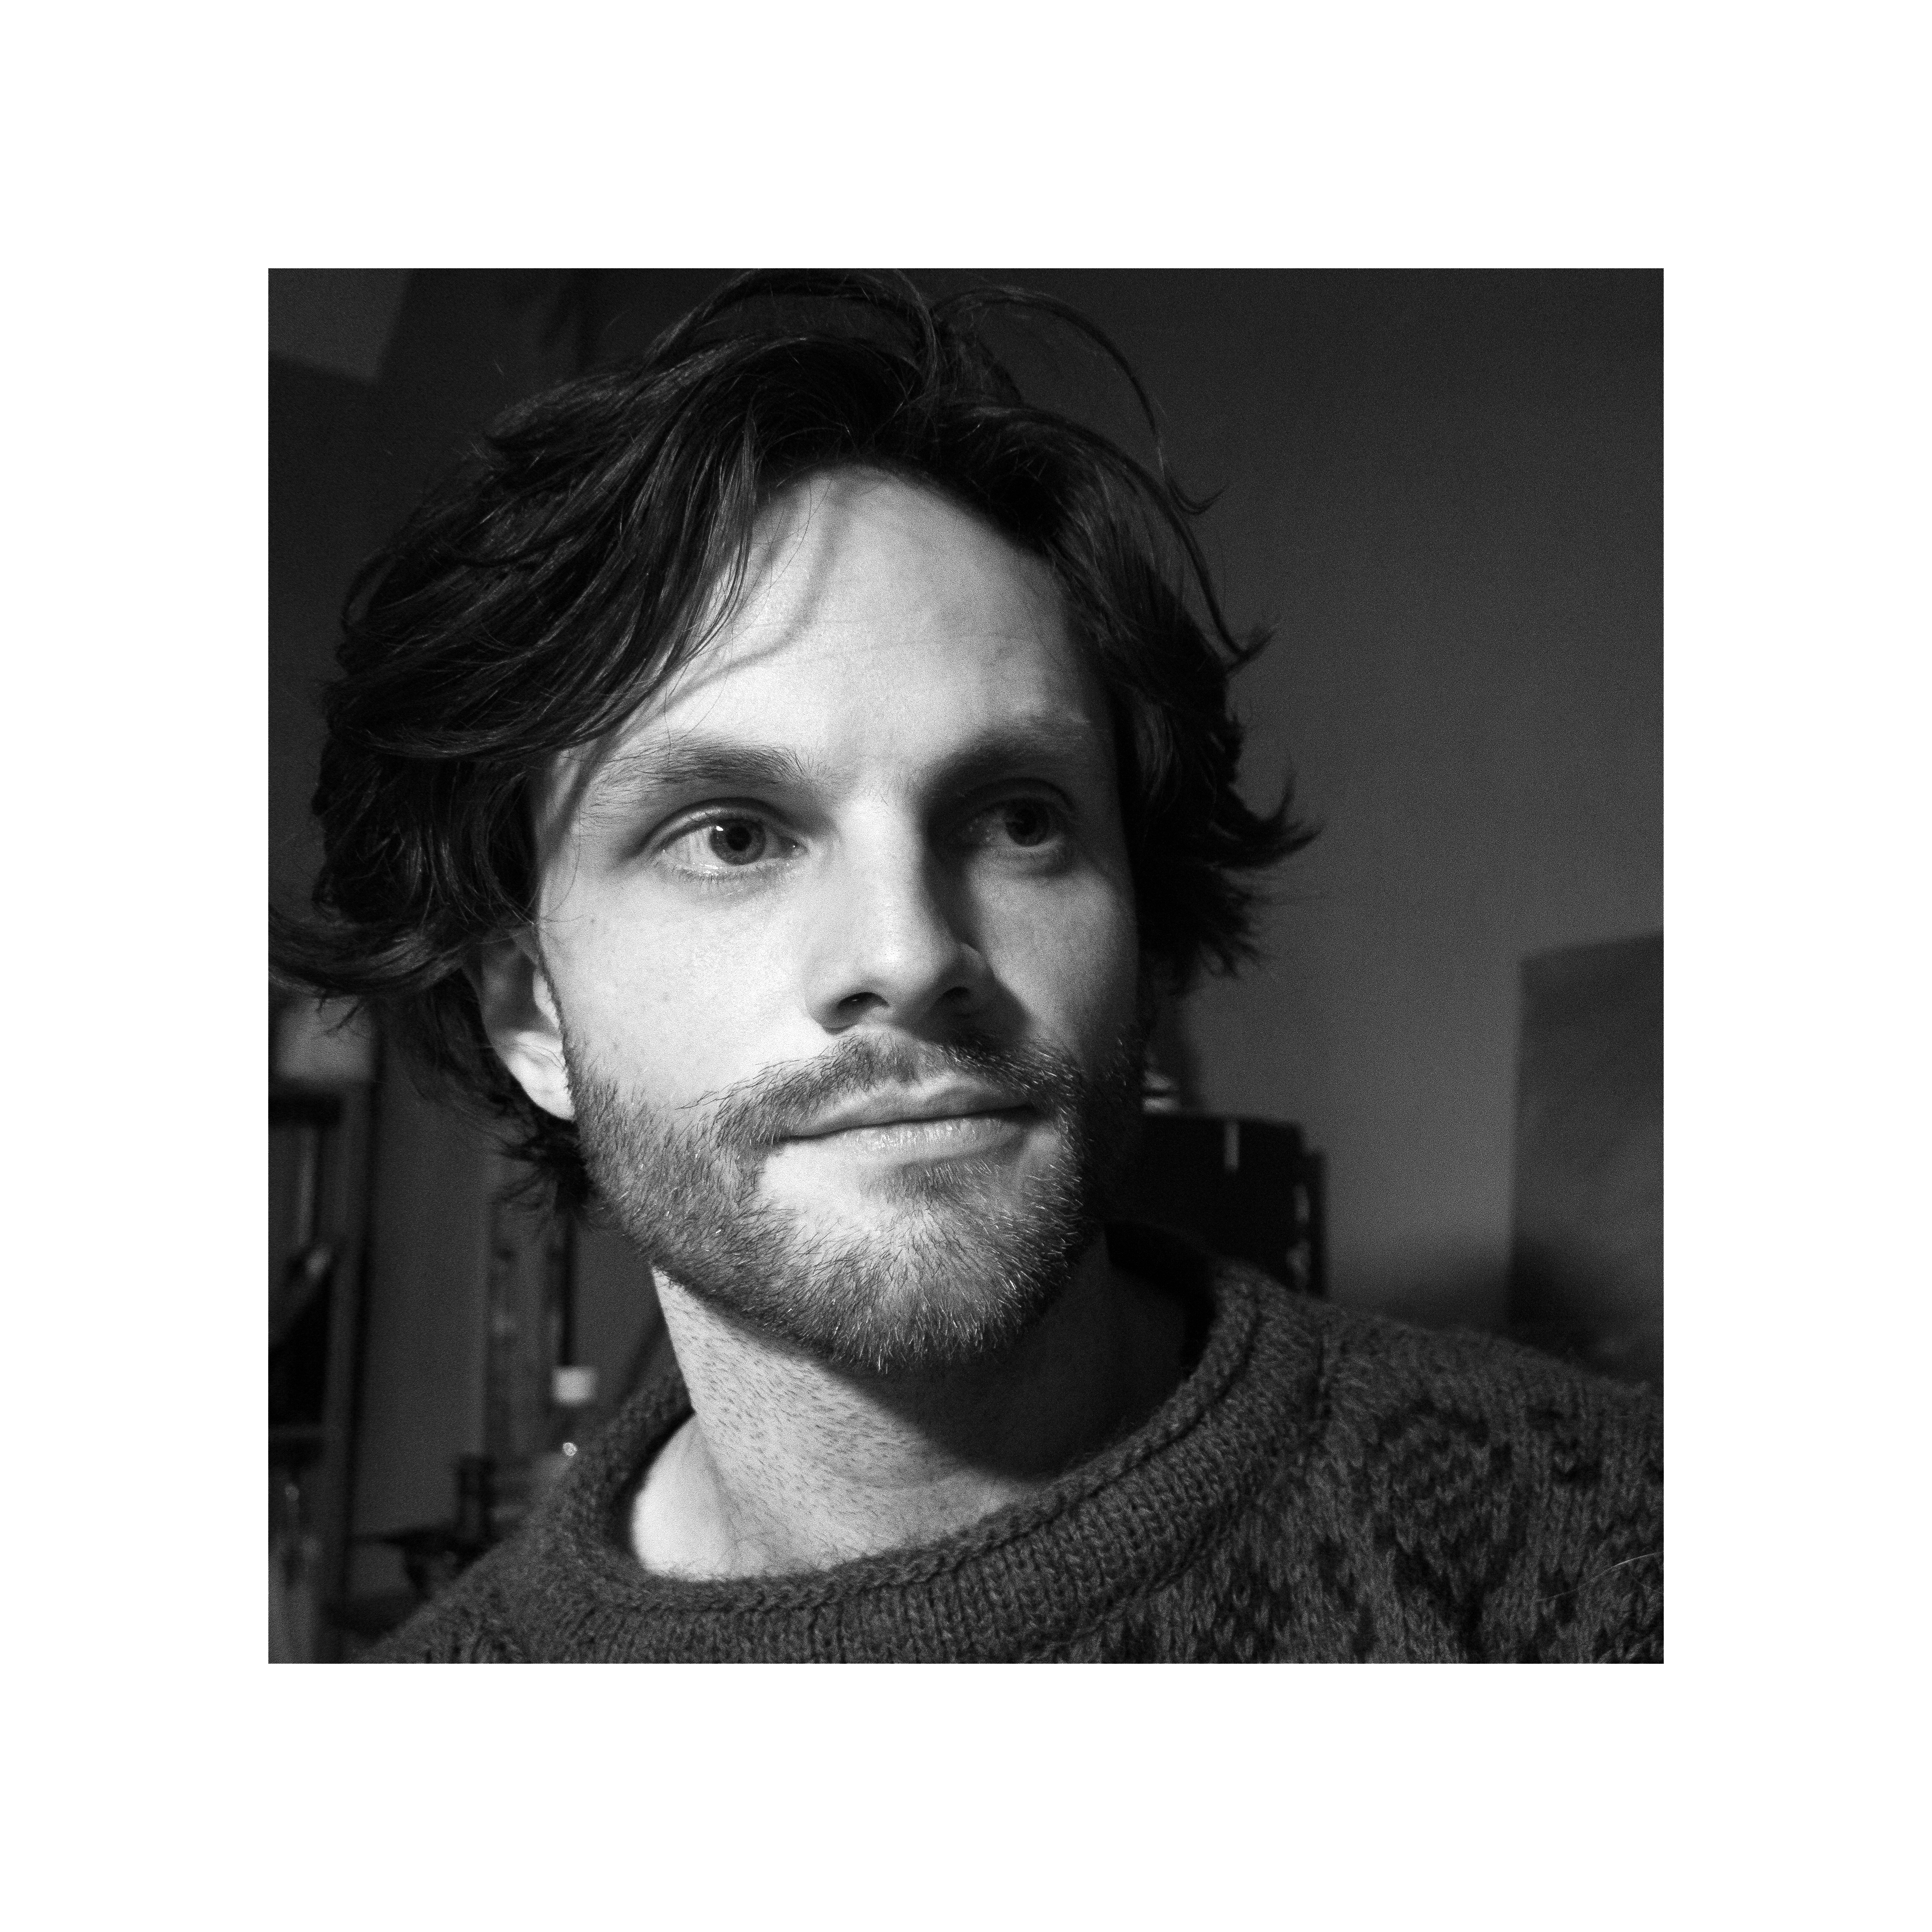
Hi, I’m Kieran Ingram
I am a professional artist and teacher who was classically trained in Florence, Italy.
I launched Scumble & Glaze to bring my in-person drawing and painting workshops online.
I exhibit my art internationally and I have been featured on Sky Arts' Portrait Artist of the Year and Landscape Artist of the Year on television in the UK.
I love meeting passionate students who are searching for better way to express themselves through their art. If you are looking for support with your technical skills, expressing your ideas or building a career in art take a look at my Mentorship Program for 1-1 support.
You can see my personal work at www.kieraningram.com
As seen on: